
 PRODUCTS
 Related news
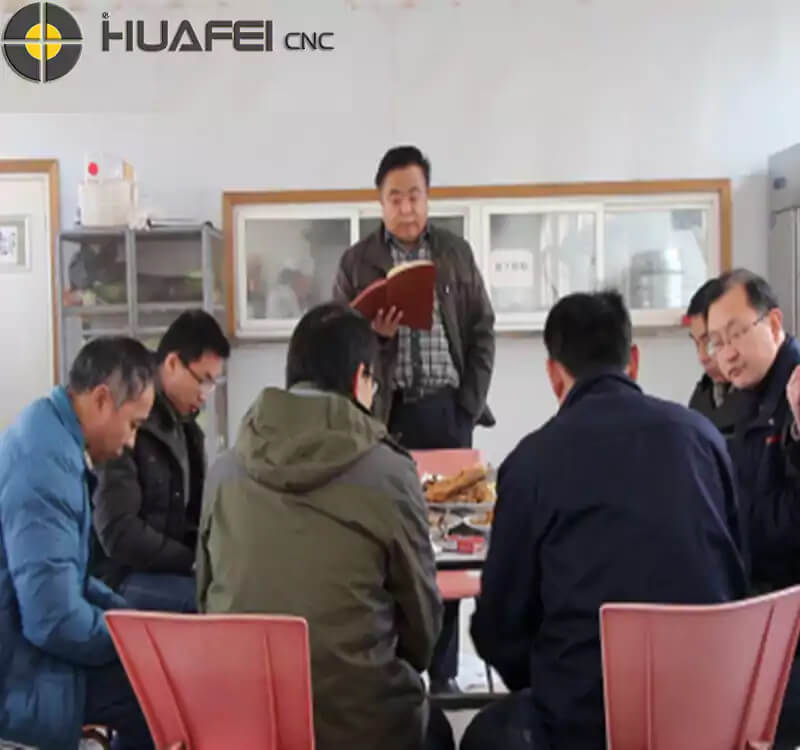
2015 Hua Fei CNC company dinner
How to choose a suitable welding positioner?
How to maintain the welding positioner?
Rescue measures for CNC cutting machine with large cutting error
How to protect a welding positioner?
How to purchase a good welding positioner?
Maintenance method of special welding chuck for positioner
How much do you know about the classification of the welding rotators?
Structure Types of Welding positioners
The 8 principles for choosing a welding positioner
Common fault problems and solutions of welding positioner
Doing a good job of the installation and commissioning of equipment is a prerequisite to ensure the best performance and reliability of the equipment. The welding rotator frame equipment requires a concrete foundation and the concrete layer is not less than 200mm.
(1) Before the equipment is installed, the foundation of the equipment must be prepared to ensure the normal curing period of the concrete and the installation position of the equipment on the same level.
(2) When the equipment is installed, install and fix the equipment according to the general equipment installation requirements. It can be fixed with expansion bolts (or fixed with pressure plates). During the installation, the two sets of welding rotators must be placed in parallel. The center of the welding rotators should be the same. Partial integrity.
(3) After the equipment is installed, check whether each part of the equipment meets the assembly requirements and ensure the normality of the electrical wiring of each part. Check and clean the periphery of the equipment to ensure that there are no obstacles that affect the normal operation of the equipment.
(4) Initial operation: When starting operation, there should be no abnormal noise and vibration. If it is necessary to eliminate the fault, hang the workpiece on the welding rotator frame of a week of trial operation and observe whether the workpiece is in close contact with the welding rotator and whether there is a large axial channeling. Otherwise, the placement of the welding rotator frame must be adjusted.
(5) Operation and use of equipment: Only after the equipment is normally installed, can it was powered on.
1. When the equipment starts to run, there should be no abnormal noise and vibration. If there is any, the fault must be eliminated first. When the workpiece is suspended on the welding rotator frame, first observe whether the position of the workpiece is appropriate? Be the workpiece close to the welding rotator? Be there any foreign objects on the workpiece that hinders the rotation? Only when everything is normal, can it was officially operated.
2. Before starting the motor, check the wiring carefully. After confirming that the wiring is correct, turn on the power switch, start the motor, check that the rotation direction is consistent with the required direction, turn on the speed switch, and turn the speed knob from small to large. Desired speed. The remote control box led out from the control box is used to remotely operate the welding rotator frame to realize the forward rotation, reverse rotation, and stop on the welding rotator. Note: When changing the rotation direction of the workpiece, you must press the reverse button after the motor is completely stopped, otherwise, it is easy to burn out the motor or other components. After the work is completed, turn the speed control knob to the minimum, turn off the speed switch, and turn off the power switch.

24-hour consultation telephone
 +86 18866411029
 global@jnhfsk.com
 No.12 Tonghua Road, HuashanDevelopment Zone, LichengDistrict, Jinan, Shandong, China


 Wechat inquiry
24-hour consultation telephone
+86 18866411029
global@jnhfsk.com
No.12 Tonghua Road, HuashanDevelopment Zone, LichengDistrict, Jinan, Shandong, China
Wechat inquiry
24-hour consultation telephone
+86 18866411029
global@jnhfsk.com
No.12 Tonghua Road, HuashanDevelopment Zone, LichengDistrict, Jinan, Shandong, China

 Service hotline:+86 18866411029
 Key classification
